Step 1 - Scanning
In order to produce quality reprints of old paper catalogs and manuals, the first
step it to produce quality scans of the material. In today's market, a quality
scanner can be purchased for a very reasonable price. But to for our purposes,
you need be sure to set your scanner up for task at hand. Since every scanner
manufacturer has their own software to adjust settings, we will not show screen
shots to show how to set up your scanner - you will need to determine how to do
this with the software for your brand of scanner. We have found that it is
better to scan your images directly into a graphics program rather than scanning
into Adobe Acrobat, Microsoft Word or other programs. I personally use a program
called Paint Shop Pro due to its great features as well as it's relatively low price.
Resolution --- Resolution is basically the number of pixels (a small
square of a solid color) that there are in a linear inch of the scanned image at
full size. Resolution is a trade off between page quality and file size -
the higher the resolution, the better the quality of the scan but higher repopulations
also produce a much larger file size. We have done considerable testing with with
different resolutions and looked for basically the lowest resolution that gives
an acceptable print quality. Actually, somewhat to our surprise, this varies somewhat
from one original document to another but for the most part we have settled on 300
dpi. Smaller resolutions are difficult to read while higher ones, while much clearer,
have file sizes that are too large for people with dial-up connections to download.
For scanning documents for submission to the OWWM web site, scan your images at
300 dpi..
Colors --- Most old catalogs and manuals were printed in black and
white while some were printed in color. If your original is all black and
white - scan the original using the "Gray Scale" setting on your scanner.
If your originals are in color, use a color setting. Most of our scans are made
using Gray Scale. If you feel that color is necessary, scan using only 256
Colors (16 Bit) rather than true color to help keep the file size down.
Because many old documents have yellowed or darkened with age, sometimes your scans
will appear to be dark. There are ways to process your images to help clean
them up which we will go into later.
File Format --- Again, the file format you save your scans in will
somewhat determine how big the file size is. Generally, the best file compressions
come with the JPG/JPEG format. If necessary, you can send scans to us in other
formats (such as TIF, BMP, etc.) but if possible, save the file JPG - JPG will usually
produce the smallest file size. Some software programs will also allow you
to set a compression level for JPG files. We usually use a 25% Compression
Factor.
Save your scans as JPG files onto your hard drive to use later to create your PDF
files. Best results come when you run your images through a graphics program
and save the JPG files to your computer rather than scanning directly into programs
like Adobe Acrobat or Microsoft Word. While it is an extra step in the process,
the final file size will be considerably lower (up to 90% smaller).
Step 2 - Processing your Images
For the following steps, I will be showing screen shots and giving instructions
for the Paint Shop Pro software program made by JASC (http://www.jasc.com/).
Other graphic programs will perform the same tasks but for this tutorial, we will
be using Paint Shop Pro.
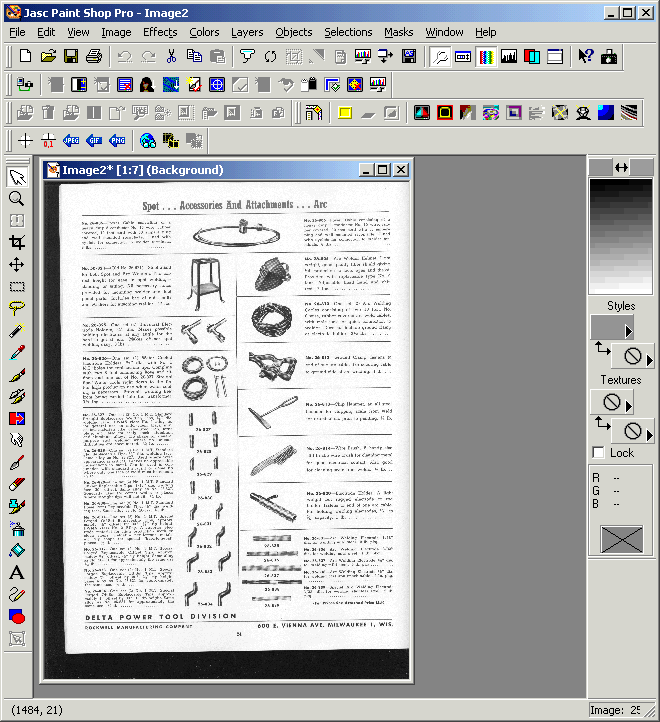
After scanning an image, there are several things that can be done to improve it.
Here is an example of a scan:
Cropping
First of all, there is a black margin around the page that should be removed.
You can do this by using the Crop tool. First, use the selection tool ( ) to select the
area you wish to crop. Then click the top left corner of the area to crop
and click and drag your mouse to the bottom right corner of the area. This
will put a dotted line around the area to be cropped.
) to select the
area you wish to crop. Then click the top left corner of the area to crop
and click and drag your mouse to the bottom right corner of the area. This
will put a dotted line around the area to be cropped.
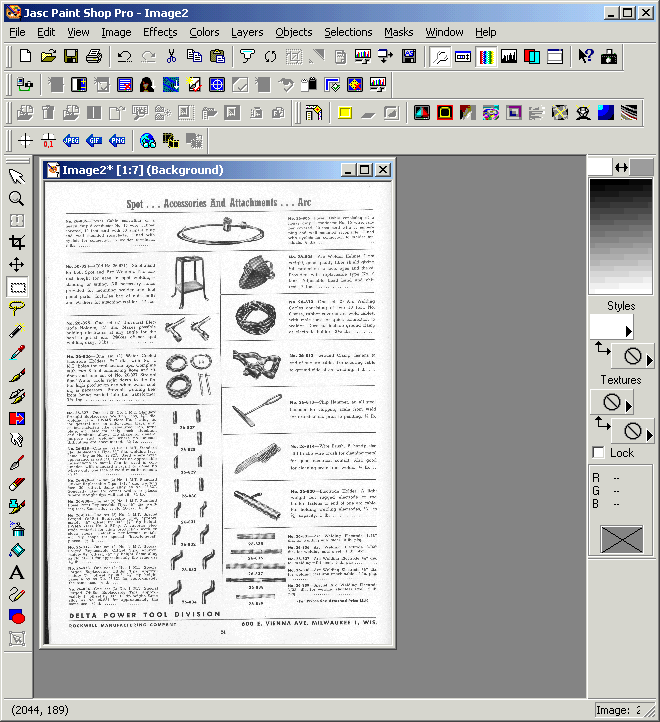
Next, from the Image menu, select the "Crop to Selection" option. The image
will be cropped down to the area previously highlighted.
Rotating an Image
Sometimes an image may be slightly crooked on the page after scanning due to poor
alignment of the document on the scanner.. You can easily rotate the image
to correct for this error. From the Image menu, select Rotate. The following
dialog box will appear:
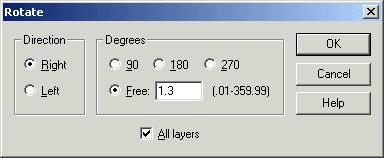
From this, you can select how many degrees left or right to rotate the image.
You may have to play with the settings to get it just right but you can easily correct
for alignment problems.
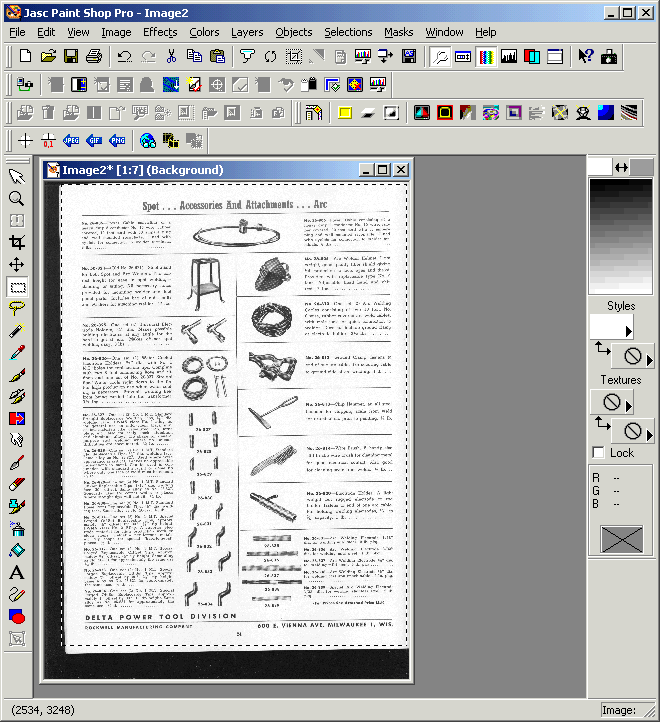
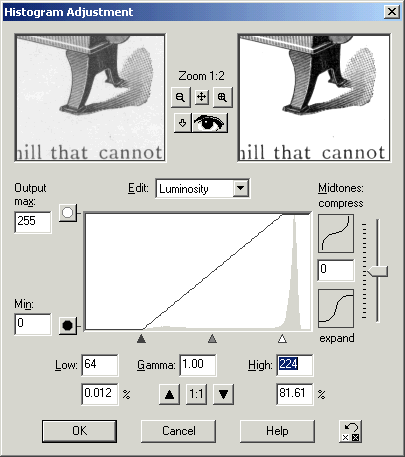
Histogram Adjustments
Perhaps my favorite function in Paint Shop Pro is the Histogram Adjustment tool.
Often, the paper of the original documents we are scanning has darkened with age.
This will result in an scan that is dark or with a gray background. In Paint
Shop Pro, you can use the Histogram Adjustment Tool to correct for these problems.
From the menu, select Colors:Histogram Functions:Histogram Adjustment. This
will bring up the following dialog box:

The graph in the window shows a histogram of the pixels in the image. There
are 256 shades of gray in the scanned image and basically what you see is a graph
indicating the number of individual pixels at each of the 256 shades of gray.
Black is on the left of the graph while white is on the right.
It is easy to see the large spike in the graph on the right hand side. This
is basically the noise in the image from the background. What we want to do
is basically filter all of this out and turn it solid white. We can also darken
some of the black portions of the image that may have faded out over time.
What we will do is move the line in the histogram on the white side to cut out all
of the background noise. We will also move the black side on the left of the
histogram over until it is just before reaching the first part of the small black
peak on the left. You can see the results of the your settings in the two
windows at top which will show a before and after view of the graphic.
Here is a before and after shot of the graphic adjusted with the Histogram Adjustment
tool: